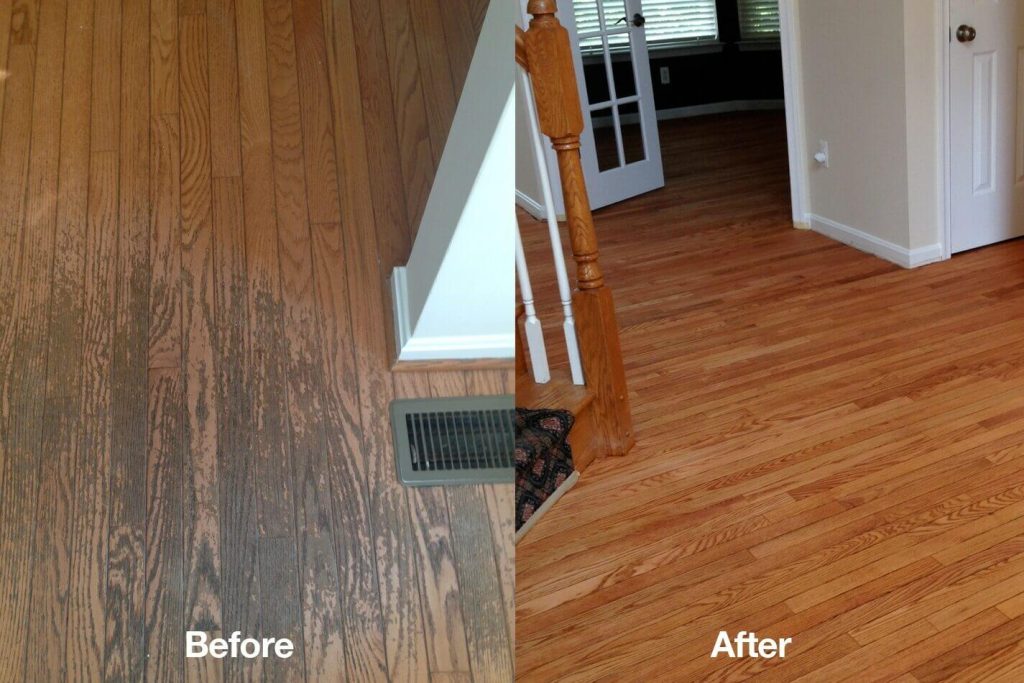
When old hardwood floors or weathered decks start looking rough, a full replacement isn’t always necessary. In many cases, sanding and refinishing can restore the natural look and beauty of the wood with a much smaller price tag. At One Stop Rental, we offer professional-grade sanding equipment like the Clark EZ-8 Drum Sander and it’s companion edger, the Clark Super 7R to get that pro-level finish that will have friends and family wondering how you got your space looking great, just in time for party and backyard celebration season!
Why Sand Instead of Replace?
Floors and decks take years of abuse from foot traffic, pets, weather, and moisture. The sanding process removes worn finishes, scratches, stains, and surface damage so the wood underneath can shine once again!
Refinishing also gives the options to:
- Change stain color
- Apply fresh protective coatings
- Improve appearance before placing your home the market
- Save money as compared to replacement.
The Right Tools for the Job
Clark EZ-8 Drum Sander
Best uses:

The EZ-8 is a professional drum sander designed to quickly remove old finish, level uneven boards, and smooth hardwood flooring surfaces. It is powerful, efficient, and it is ideal for larger open floor areas.
Clark Super 7R Edger
Best uses:
- Hardwood Floors
- Large room refinishing projects
- Removing old polyurethane or paint
- Smoothing rough deck boards (where appropriate)

No large sander can tackle tight corners, edges, stairs, or along walls. That is where this companion sander comes in to fill the void left from traditional sanding units. The Super 7R edge sander is built to handle the detail work and finish the areas the drum sander cannot reach.
- Floor perimeter sanding
- Closet areas
- Stair treads
- tight deck corners and rail areas
Great for Deck Restoration Too!
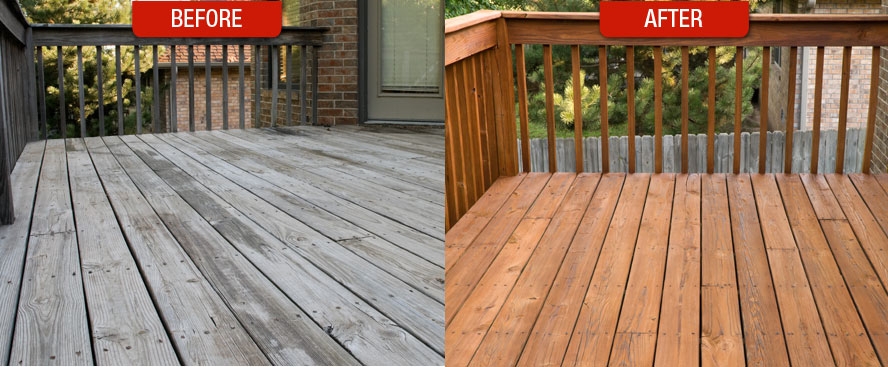
If your wood deck has become gray, splintered, or rough, sanding could be your restoration solution prior to staining or resealing. Using the right sanding equipment helps remove weather damage and opens the wood grain for better stain absorption.
Safety Tips When Using Floor and Deck Sanders
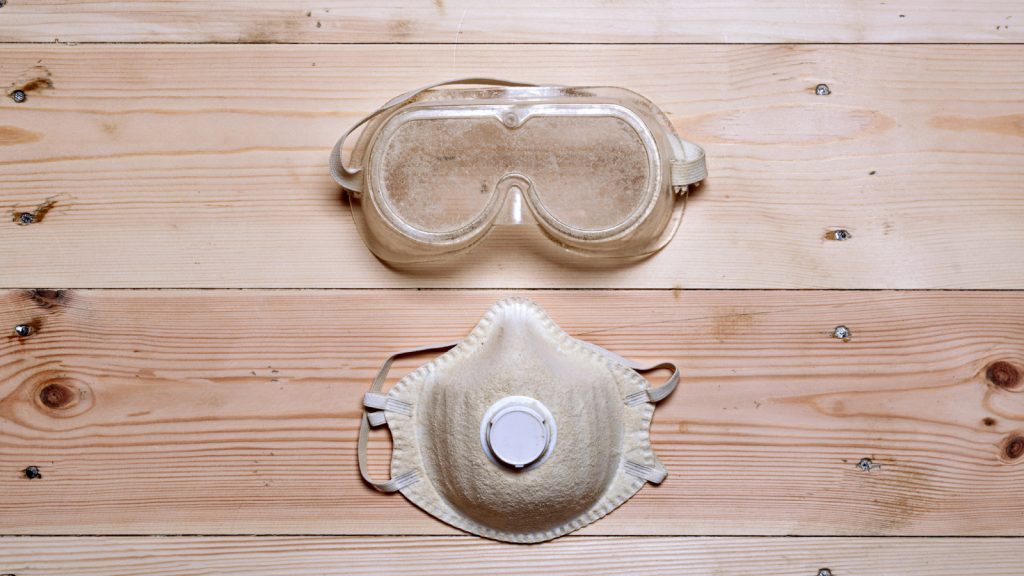
Sanders like the EZ-8 drum sander and Super 7R edger are powerful machines, and using them safely is critical for both results and personal protection. Always wear proper personal protective equipment. This includes safety glasses, hearing protection, a dust mask or respirator, gloves, and closed toe shoes. Sanding creates a large amount of fine dust that can irritate your lungs and eyes.
Before starting, inspect the machine and sanding belts or discs. Make sure everything is installed correctly and securely. Loose or damaged sandpaper can tear during operation and cause injury or damage to the surface.
Ensure proper ventilation, especially when working indoors. Open windows and doors or use fans to keep air moving and reduce dust buildup. Empty the dust collection on the sander frequently to reduce chance of static build up and spontaneous combustion. Keep the work area free of combustible items.
Keep the machine moving at all times while sanding. Letting a drum sander sit in one spot can gouge the floor or deck quickly. Start and stop the machine while it is tilted off the surface when possible, to avoid burn marks.
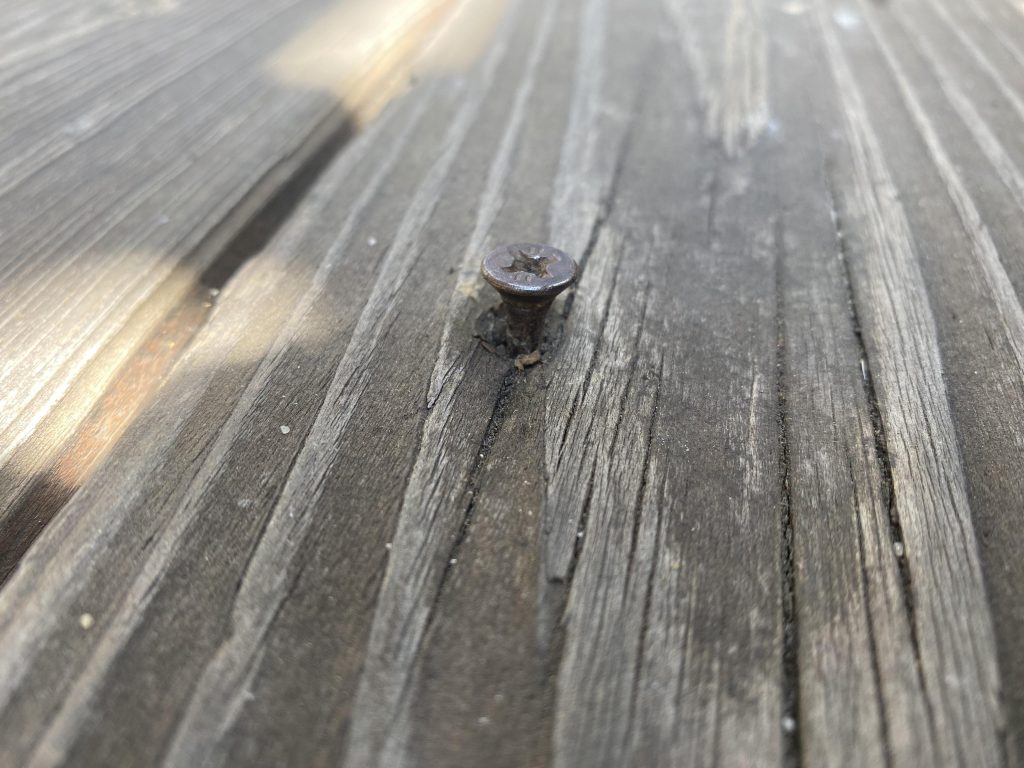
Watch for nails, screws, staples, or debris. These can damage the sanding equipment and create dangerous sparks. Always prep the surface before sanding.
Finally, never bypass safety features on the equipment and always follow the manufacturer’s operating instructions. If you are unsure about anything, ask one of our expert associates for a walkthrough of operation before starting.
Quick How-to Guide: Sanding Hardwood Flooring
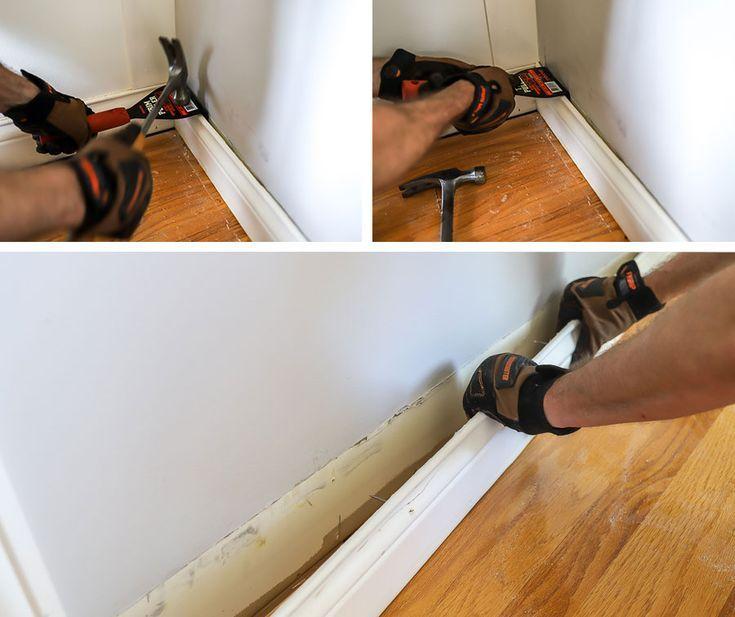
Start by preparing the room. Remove all furniture, tugs, and obstacles. Carefully remove baseboards if you want a clean professional finish to the edges. This allows you to sand closer to the wall without leaving a visible lip. Inspect the floor and set and protruding nails below the surface using a nail set. Sweep and vacuum thoroughly to remove dust and debris.
Begin sanding with a course grit (typically 36-40 grit) using the EZ-8 drum sander. Sand in the direction of the wood grain, keeping a steady walking pace. Overlap each pass slightly for even coverage.
Use the Super 7R edger to sand along walls and corners where the drum sander cannot reach. Keep the edger moving to avoid swirl marks. Progress through medium grit (60-80) and then fine grit (100-120) to smooth surface. Vacuum thoroughly between each pass. After sanding is complete, do a final vacuum and tack wipe before applying stain or finish.
Quick How-To: Sanding and Refinishing a Deck
Start by clearing the deck of all furniture and sweeping away debris. Inspect the boards and tighten or replace any loose fasteners. Countersink all screws slightly below the surface of the wood. This is an important step to avoid tearing sanding belts, or creating an uneven result. Use a drill to drive them just below the surface without overdoing it.
Begin sanding with a course grit (40-60 grit) to remove old stain, paint, and weathered wood. Work with the grain of the boards, keeping the sander moving evenly.
For edges, railings, and tight spots, switch to a smaller handheld sander, or edger.
Once the surface is cleaned up, move to a medium grit (80 grit) to smooth the wood and prepare it for stain or sealer.
Blow off or sweep all dust and follow up with a final clean before applying your stain or sealant. Make sure the deck is completely dry before finishing.
Conclusion
Refinishing hardwood floors or restoring a worn deck doesn’t have to be overwhelming when you have the right equipment and a clear process. With machines like the EZ-8 drum sander and Super 7R edger, you can take on large surfaces and tight edges with confidence, bringing old wood back to life with professional-looking results. The key is preparation, patience, and staying consistent with your sanding passes and grit progression.
Whether you’re tackling a full interior floor refinish or giving your outdoor deck a fresh start, safety and attention to detail make all the difference. Removing obstacles like baseboards, properly countersinking fasteners and keeping your workspace clean can help you avoid making common mistakes and get a smoother finish.
At the end of the day, a refinished floor or deck is one of the most satisfying upgrades you can make to a space. It adds value, improves appearance, and extends the life of your wood surfaces. With the right tools and a little know-how, it’s a project well within reach for most DIYers.